Your podcast sounds quiet on some speakers. On others it sounds fine. On a car stereo or a phone speaker, the volume feels low even at maximum. You have heard other podcasts that sound loud and full in exactly the same playback scenario.
The cause is almost always dynamic range. Specifically, too much of it, combined with a misunderstanding of how loudness normalization works on podcast platforms.
What dynamic range actually means
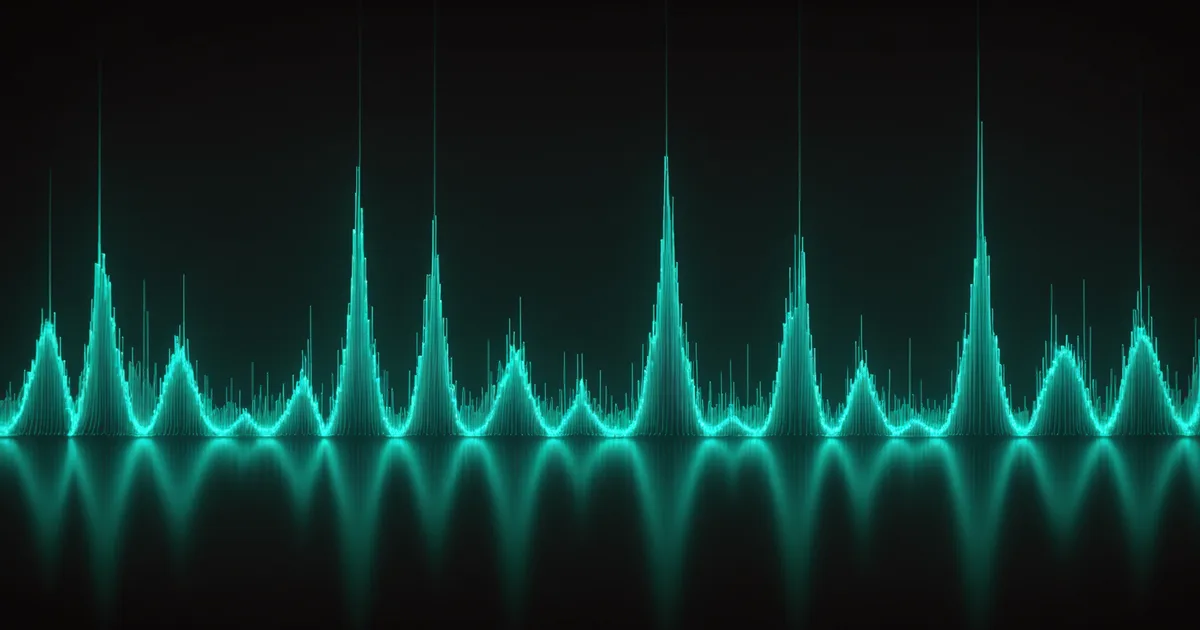
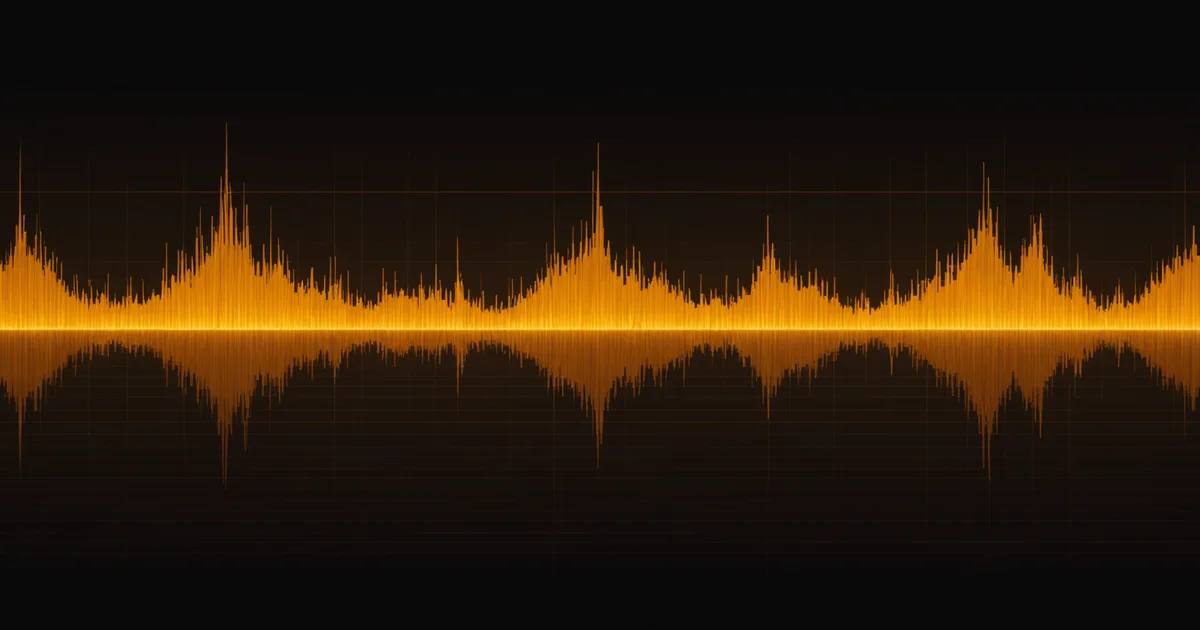
Dynamic range is the difference between the quietest parts of your audio and the loudest parts. In music, dynamic range is often a creative choice -- a quiet verse before a loud chorus. In speech audio, large dynamic range is almost always a problem.
When you speak softly and then raise your voice, the difference between those two moments is your dynamic range. If your softest moments are at -30 dBFS and your loudest moments hit -6 dBFS, your dynamic range is around 24 dB. That is a lot for a spoken word recording.
The problem: podcast platforms normalize loudness by measuring the average loudness of the entire file and adjusting it to hit the platform's target (Apple Podcasts targets -16 LUFS, Spotify targets -14 LUFS for podcasts). If your file has wide dynamic range with a high average loudness, the platform may actually turn it down. If your file has wide dynamic range with a low average loudness, the platform turns it up -- but the soft parts are still soft and the loud parts may now clip.
The result in the listener's ear: volume that feels inconsistent, voices that drop out on budget speakers that struggle to reproduce quiet audio, and overall perception of "low volume" even when the average is technically on target.
What compression does (and does not do)
Audio compression reduces dynamic range by automatically turning down the loudest parts. It is not the same as loudness normalization. Those are two different tools that do two different things, and confusing them is the source of most beginner compression mistakes.
A compressor works by monitoring the incoming audio level. When the signal exceeds a threshold you set, it applies gain reduction at a ratio you set. Threshold: the level at which compression kicks in. Ratio: how much to reduce the signal above that threshold (2:1 means that for every 2 dB above the threshold, only 1 dB passes through). Attack and release: how fast the compressor responds and recovers.
For podcast speech, typical useful settings are a threshold around -20 to -18 dBFS, a ratio of 3:1 to 4:1, a relatively fast attack (around 10-30ms so it catches transients), and a medium release (100-200ms so it does not pump on every word).
The output of compression is audio with reduced dynamic range -- the difference between soft and loud is smaller. You then apply make-up gain to bring the overall level back up. The result is audio that holds volume more consistently and is perceived as louder at the same playback volume setting.
The multiband complication for podcasts
Standard compression treats the entire audio signal equally. Multiband compression divides the signal into frequency ranges and compresses each range independently. Multiband is common in broadcast and music mastering; it is generally overkill for a single voice podcast.
Where it becomes relevant for podcasters is in two-person or multi-person episodes where speakers have very different vocal characteristics. One host has a deep voice with energy concentrated in the low-mids; the co-host has a higher, thinner voice. Standard compression applied to the combined mix may not handle both well simultaneously. Multiband lets you treat the frequency ranges that each voice occupies more precisely.
For most solo or straightforward interview podcasts, single-band compression is sufficient. Multiband is worth understanding if you are doing dual-track editing with noticeably different voice types.
Why your podcast sounds quiet on some speakers specifically
Laptop speakers and phone speakers roll off the low frequencies. They cannot physically reproduce bass, so they de-emphasize it. A voice that sounds full and balanced on headphones or studio monitors sounds thin and quiet on a laptop or phone because the low-mid content, which carries a lot of the perceived body and volume of a voice, is attenuated.
The fix is not to boost low frequencies -- that would just create muddy audio on systems that can reproduce them. The fix is to ensure your vocal presence range (typically 1kHz-4kHz) has enough level to carry on small speakers. This is where podcast-specific EQ and compression comes in: a presence boost combined with compression to control dynamic range gives speech audio that holds up across playback environments.
This is also why Reverbwell's level normalization targets are set with podcast listening environments in mind. The -16 LUFS target with a short-term loudness approach, rather than just hitting an integrated number, produces audio that maintains subjective loudness in the playback scenarios where most podcast listening actually happens.
The LUFS numbers you need to know
LUFS stands for Loudness Units relative to Full Scale. It is a standardized measurement of perceptual loudness, more meaningful for human hearing than simple peak level in dBFS.
Target -16 LUFS integrated for Apple Podcasts, Overcast, and most other podcast players. Some older platforms use -14 LUFS. When in doubt, -16 LUFS is a safe target that avoids being turned down on any platform.
True peak (the maximum instantaneous level in the file) should not exceed -1 dBTP. This leaves headroom to prevent distortion on playback in different decoding environments.
If you are measuring your files, those are the two numbers to check. Integrated LUFS for overall loudness balance, true peak to ensure you are not clipping anywhere.
What this means for your editing workflow
The compression-then-normalize chain is the standard approach: apply compression to control dynamic range, then apply normalization to hit your target LUFS. Getting the compression right is where judgment is involved. Getting the normalization to target is mechanical.
If dynamic range correction is in your workflow, apply it before normalization, not after. Normalizing a wide-dynamic-range file and then compressing it creates different (and usually worse) results than compressing first to control the range and then normalizing to target.